
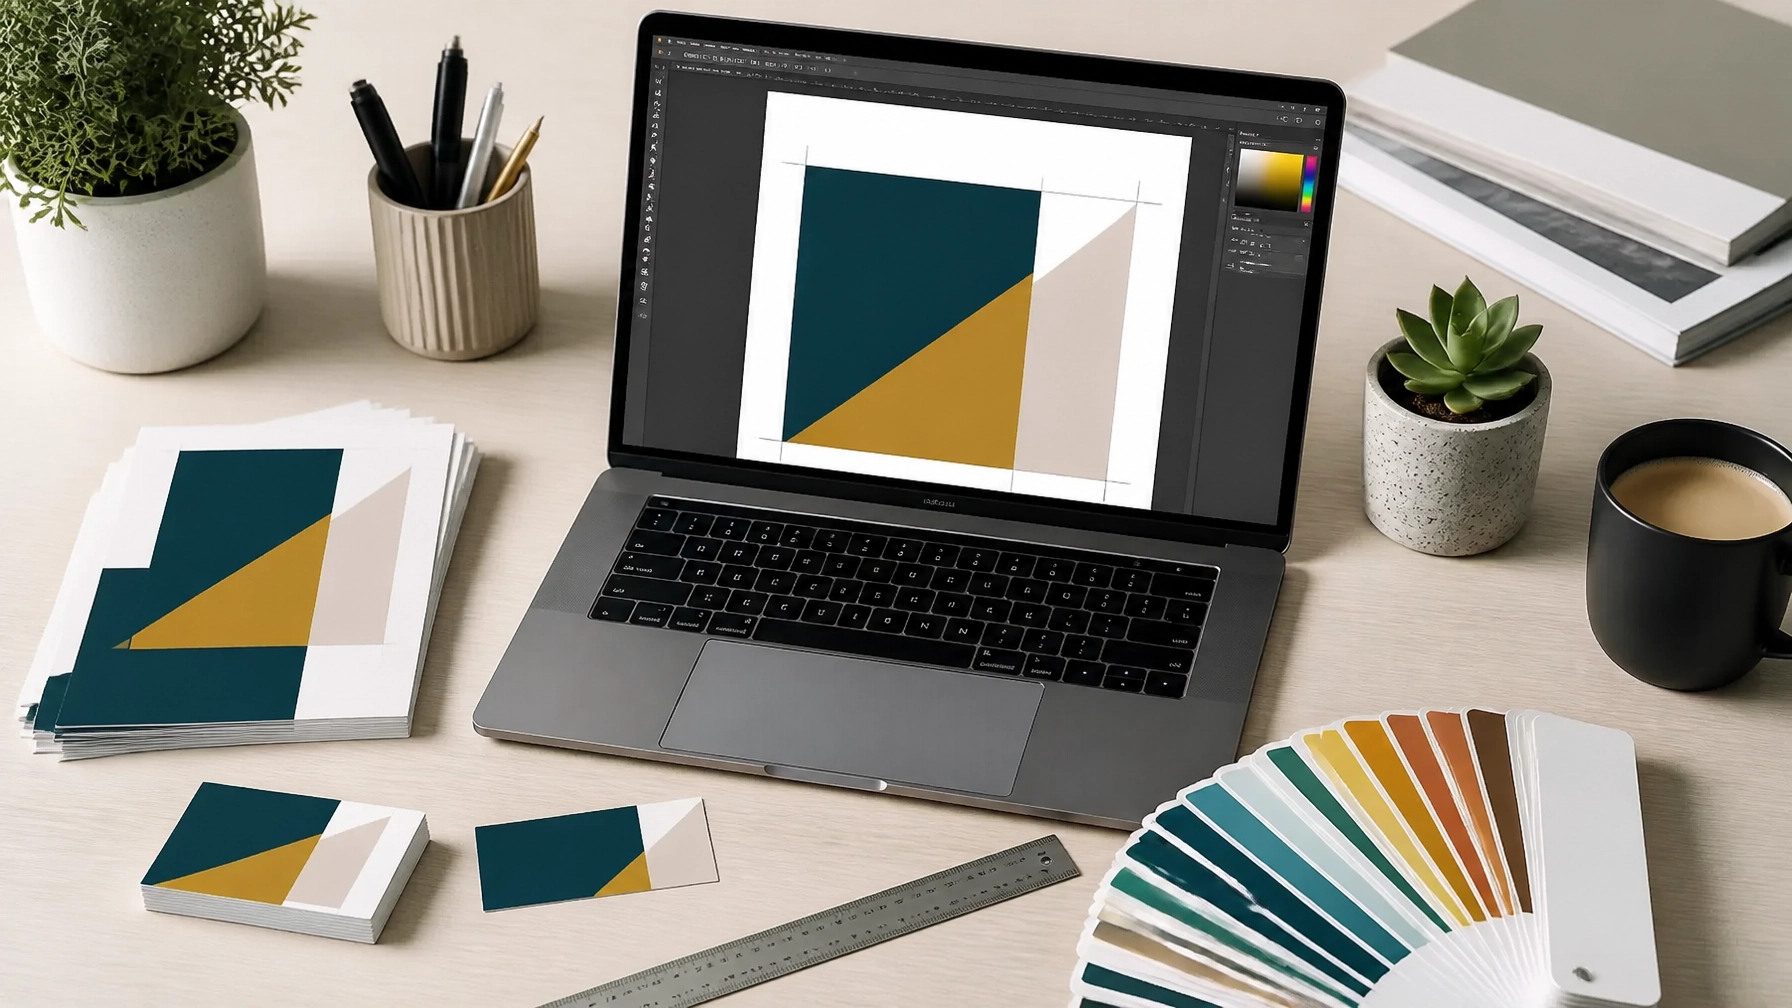
We have all been there. You have spent hours, maybe even days, perfecting a design for your new business cards or a flashy new flyer. It looks fantastic on your screen, the colours are popping, and the layout is exactly how you want it. You send it off to the printer, full of excitement, only to get an email back saying your artwork isn't "print-ready."
It can be a bit of a head-scratcher, especially if you aren't a full-time graphic designer. Terms like "bleed," "CMYK," and "DPI" can sound like a different language. At ABC Service, we want to make your life easier and get your projects moving as quickly as possible. When we receive high-quality, print-ready files, it means we can get straight to the fun part: printing your order: without any delays or technical hitches.
This guide is here to pull back the curtain on the technical bits. We will walk you through the three pillars of professional printing so you can submit your files with total confidence.
What is Bleed and Why Do You Need It?
If there is one thing that causes the most "file rejected" emails, it is bleed. Simply put, bleed is the extra bit of background colour or image that extends past the final trim edge of your design.
When we print your flyers or business cards, we don’t print them on tiny individual scraps of paper. We print multiple designs onto large sheets and then use a massive, incredibly sharp guillotine to cut them down to size. While our equipment is excellent, there is always a tiny bit of movement: usually less than a millimetre: as the blade comes down.
If your design stops exactly at the edge of your finished size (let’s say 85x55mm for a business card), and the blade is even half a millimetre off, you will end up with a distracting white sliver of paper along one edge.
The ABC Service Rule of Thumb
For almost everything we print, from business cards to A4 notepads, we require a 3mm bleed on all sides.
- Finished Size: 85mm x 55mm
- Artwork Size with Bleed: 91mm x 61mm
By extending your background into that extra 3mm zone, you ensure that when we trim the paper, the colour goes all the way to the edge every single time.

The Safe Zone, Don't Lose Your Important Bits
While the bleed handles the outside of your design, the "Safe Zone" handles the inside. This is an invisible border about 3mm to 5mm inside the trim line.
You should keep all your vital information: like phone numbers, email addresses, and logos: inside this safe zone. If you put your text right up against the edge of the paper, it can look "tight" and unprofessional. Worse, if the guillotine moves slightly inward during trimming, you could lose the last digit of your mobile number.
Keep it central, keep it safe, and your design will look much more balanced.
CMYK vs RGB, Why Your Neon Green Turned Into Moss Green
This is the part that often catches people out. Your computer monitor, tablet, and smartphone all display colour using RGB (Red, Green, and Blue) light. Because screens are backlit, they can produce incredibly vibrant, almost neon colours.
Professional printers, however, use CMYK (Cyan, Magenta, Yellow, and Black) inks. This is a "subtractive" colour process. Because ink doesn't have a backlight, it cannot replicate some of the super-bright colours you see on a screen.
If you design your artwork in RGB and send it to us, our software has to convert it to CMYK. Sometimes this conversion goes perfectly, but other times, those vibrant blues and greens can look a little "flat" or dull in the final print.
How to get it right
- Start in CMYK: If you are using professional software like Adobe Illustrator or InDesign, set your document to CMYK colour mode before you even start.
- Be Realistic: If you are using Canva or a basic photo editor, just be aware that "neon" colours on screen will always look slightly different when they hit the paper.

Understanding Resolution and the 300 DPI Rule
Have you ever printed a photo from the internet and found it looked "blocky" or blurry? That is a resolution issue.
Resolution is measured in DPI (Dots Per Inch). For a crisp, professional-looking print, the gold standard is 300 DPI. Most images you find on the web are 72 DPI: this is because screens don't need a lot of data to look good, and smaller files load faster.
When you take that 72 DPI web image and try to print it, there simply isn't enough information for the printer to create a sharp image, so it stretches the pixels, resulting in that "pixelated" look.
The Pro Tip
Always check your images at 100% size. If you are designing an A4 flyer, make sure your photos are 300 DPI at A4 size. If you take a tiny 300 DPI passport photo and stretch it to fill an A4 page, it will still end up blurry!
Why the PDF is King of the Print World
When you have finished your masterpiece, how should you save it? While we can work with JPEGs and PNGs, the High-Quality Print PDF is the absolute best format for professional printing.
PDFs are fantastic because they "lock" everything in place. They embed your fonts (so the text doesn't change if we don't have your specific font installed) and they keep your images at the correct resolution.
When exporting your PDF, look for an option that says "High Quality Print" or "Press Quality." If your software allows it, make sure you tick the box that says "Use Document Bleed Settings."

A Quick Checklist for Your Next Project
Before you hit send on that email to us, run through this quick "helper" checklist to see if your artwork is ready to go:
- Does it have 3mm bleed? Is your background colour extending past the edge?
- Is it in CMYK? Have you checked that your colours aren't set to RGB?
- Is the resolution high enough? Are your images at 300 DPI?
- Is the text in the Safe Zone? Is everything important at least 3mm away from the edge?
- Is it a PDF? Have you exported it as a high-quality PDF?
We are Here to Help
We know that setting up artwork can feel a bit daunting the first few times you do it. Our goal at ABC Service isn't just to print your files; it's to make sure you are thrilled with the final result.
If you are struggling with your design or you just can't seem to get those bleed lines right, don't forget that we offer a full Graphic Design service. Our in-house team in Tavistock can take your ideas and turn them into perfectly formatted, professional artwork that is guaranteed to print beautifully.
Whether you need a thousand booklets for a UK-wide campaign or a handful of business cards for a local event in Plymouth or Okehampton, we are here to ensure your brand looks its absolute best.
Ready to start your next project? Pop in and see us at our Tavistock shop, or get in touch with our team to discuss your printing needs.